Building A Better Keyboard
I've previously written about how regular keyboards suck. I've also laid out options to mitigate many of their flaws. But how do you practically go about building your own better keyboard? In this post, I'll try to answer that question and also share my—admittedly short—journey with building (step one and two to) my dream keyboard.
Deciding On A Design
Before you can start building, you have to know what you'll build. You could design your own board from scratch, but I haven't yet done that, so I can't help you with that. However, there are hundreds of designs out there that you can steal.1 Take some time browsing kbd.news, and c/ErgoMechKeyboards, and r/ErgoMechKeyboards. Get an idea of what people are building and what they're prioritizing.
For your first build, I'd recommend staying within the following boundaries:
- Wireless Split Keyboard. This means that the two halves communicate via Bluetooth with each other, and they'll communicate via Bluetooth to the machine you're typing on. But if your PC (or laptop) does not have Bluetooth capabilities, you can still plug one of the halves in using USB-C and use it that way.2 You'll need to solder a battery, but with a wired board, you'd have to solder the wires, so there's not much difference in difficulty.
- 36 to 42 keys. 36 keys is 3 keys per finger (including thumbs), plus an inner column of 3 keys per index finger. 42 adds another column to each pinky on the outside. Even with just 36 keys, you are able to preserve a lot of the original typing habits, such as keeping all alpha keys (the letters and a few symbols) where you'd expect. Going lower will make this difficult. Going higher than 42 keys similarly doesn't really seem an improvement, as the additional keys will be further and further away from your fingers.
- No Pointing Devices. Some designs add little touchpads or trackballs into the keyboard design. People generally agree that these cannot fully replace a dedicated pointing device, like a mouse or touchpad. For a first build, I think it'd just make things unnecessarily complicated to add these.
- No Rotary Encoders. Rotary encoders—these things that look like radio knobs—are a similar gimmick to the pointing devices. In limited use cases, there is a point to them. If you do a lot of video or audio editing, for example, you could use them to scrub the timeline. If you're not doing any of that, don't bother with encoders.
- Hotswappable. Instead of soldering the switches directly to the board, you can solder these little thingies on and plug your switches in and out as you want. These are so cheap and nifty that I wouldn't build a board without them.
Ordering Parts
So you've selected some design and found the repo where the creator is kindly sharing all the files and instructions that will enable you to build your board. So, go on and order the parts. But how and where?
While the specific parts vary, here's what you'll probably need:
- Microcontrollers: Depending on the type you need, these will run you 15€ to 25€ each, and you should probably order them on AliExpress, but do check other sellers as well.
- Tiny Electronics Parts: Your list will probably include a whole bunch of Diodes, two On-/Off-Switches and Reset Buttons, Hotswap Sockets, and Batteries. This stuff is best ordered on AliExpress and will come out to about 15€.
- Key Switches: This is what you'll be interacting with all the time. Switches are a science unto themselves, and people have… opinions. Since you're using Hotswap Sockets, you won't forever be stuck with the switches you select here, but for your first board, I'd recommend getting the lightest linear switches you can find. The price for these will be pretty equal no matter where you order, but you could go with AliExpress or find a more local vendor on kbd.news/vendors. They'll run you around 40€
- Key Caps: Again, there are options, and opinions on those options. But you're also able to swap these out later. Order where you are ordering the switches as well, so AliExpress or some other vendor. Don't just order the same plain caps here. Also throw in some different home keys to try out. You'll come up to another 35€
- PCB: You'll get some Gerber files that you can use to order a custom-etched PCB. Everyone's ordering at JLC for good reason: It's quick, cheap, and even allows some nice customization. You'll pay 15€ to 25€ here, depending on whether the design is reversible.3
- Case: Somewhat optional, but you'll probably want to get a casing 3D printed. These typically come in two parts per side: A top plate which sits between the PCB and switches, and a bottom plate on the… bottom. JLC can also print these, but I didn't check the prices as I printed mine in Germany at 3DDesign24. This cost 40€. You can also check AliExpress or Etsy. People are selling printed cases for more popular keyboard models there.
I don't know the board you selected, so you might need some more parts like screws or additional electronics, etc. But what we end up with here is somewhere around 170€ to maybe 200€.
The expensive stuff here definitely are the caps and switches. Luckily, you can swap them out. If your first board just straight up sucks, you could probably build a second one for a bit under 100€ and plug the switches in there instead. On the other hand, you can always get some different switches and caps and see how those work for you.
Lastly, if you've selected a really popular model, you might not even need to look for all these pieces by hand. You might be able to just order a "kit." Like a LEGO set, these kits contain all the parts that you'll need to build the board. Well, all but the switches and caps in most cases. You can check Etsy or AliExpress and will probably pay something close to what you'd have paid if you'd sourced all the parts yourself.
Tools
We're not ready to start building just yet. We will also need some tools to solder and assemble the board. Here's the minimum that you'll need:
- Soldering Iron: No need to get one of those bigger "stations," a simple 15€ piece will work. A dial to adjust power (or temperature) is enough.
- Tin: The stuff you'll solder with. I don't know anything about these, but I wouldn't cheap out on this: We want this to last.
- Soldering Iron Cleaner: Anything (meant for cleaning the tip) will work. I've got sponges.
- Tweezers: You'll need a pointy tip and a bend to properly hold the electronics in place. If you are buying these anyway, consider getting reverse-action ones. These are closed by default and require pressure to open. I had regular ones, and reverse action would've made a couple of solders a bit easier.
- Flux: Get some.
- Desoldering Pump or Wick: You'll make some mistakes and you'll need to fix them.
- Electrical Tape: You'll be soldering battery wires, and you'll want a quick and easy way to insulate them.
- Wire Strippers: You'll be working a bit with wires, and you'll need a way to strip them. Scissors or pliers will do in a pinch, but if you don't have spare wire to fix your mistakes after, maybe just get a wire stripper.
- Desk Lamp: The diodes you'll be soldering are tiny. You'll need good light and maybe even a magnifying glass to align them correctly.
- Multimeter: Look, if everything goes fine, you won't need this at all. But if you try turning the finished board on and it doesn't start, you'll need some way to identify the problem.
This is the minimum you'll need. Go borrow or buy the stuff you don't yet own.
Preparation
I'm no expert on soldering, plus I don't even know the board you are trying to build. So I won't tell you how to solder or the specific steps you need to follow. But while you wait for all the parts and tools to arrive, you could already watch a couple of videos on "soldering basics" and "soldering tips."
Next, since the process for all boards is quite similar, you should read a detailed build guide like SplitKB's on the Aurora Series. That way, you'll have a decent idea of what to do even if the instructions for your particular board aren't as detailed.
If the parts still haven't already arrived yet, you can get a head start on the firmware by reading its documentation. The idea is not to understand everything and remember all the parameters, but to get an idea of what kinds of settings are available and what kinds of features are possible.
Interlude: My Experience
If you don't care about my personal journey, skip to the next section.
I became interested in split keyboards through a friend who was kind enough to relay most of what I've repeated here for your benefit. Furthermore, he also lent me a Corne board to try out for a while. It wasn't the perfect board for me, but I liked it well enough. I flashed the popular Miryoku Layout and got used to that while looking for what I'd build myself.
Three things led to the decision: First, I was still overwhelmed with all the parts I'd need to order, so I thought it'd be good to choose something popular enough to be sold as a kit. Second, I thought that my first build would suck anyway, so it wouldn't matter too much what I chose. Lastly, I already had some experience with a board that fit these criteria—so I ended up ordering a Corne kit.
The build was actually quite easy, and everything worked out well, though I'm still waiting for the batteries to arrive for that one.
Shortly after I had ordered the Corne I stumbled onto the Lintilla. All the design decisions were speaking to me: I thought the Corne column stagger was not aggressive enough. Miryoku does not use the outer three keys on 42-key boards, and Lintilla's arrangement of them seemed more sensible with one of these three raised outside the main cluster. Lastly, the Corne thumb keys are really tugged in. I did see potential for moving them out.
So, just a few days after I'd soldered my own Corne, I had already put in the order for all the parts for the Lintilla. The soldering for that similarly went well. I had a near miss when I accidentally cut one of the battery wires while trying to strip it. Luckily, it was still just long enough to work. Once done and assembled, though, I found out that something had gone wrong with the right half and the battery power was not working. So I pulled off all the key caps and switches to remove the top plate, only to find that the soldering all sits on the bottom, which I could've accessed by removing just a few screws.
Finally, I was looking at my soldering job. But what now? If it wasn't clear until now: I'm not great with electronics. I don't really get how they work. So for a second, I was pretty devastated. I did a quick web search for how to check a battery circuit with a multimeter, but that didn't provide the quick and easy answer I was looking for. But then I realized: 1) The internet is actually filled with know-how on these kinds of electronics and 2) I'm only looking for a way to analyse the problem and will probably be able to follow and verify someone else's explanation.
These two facts combined marked it as the perfect use case for an LLM. I spun up kagi assistant and described my circuit. It was able to describe to me exactly what setting I needed to dial my multimeter to and where to place its little… antennas—I did say I'm bad with electronics, didn't I?—and it told me what readings to expect where. I did the measurements and reported back. It told me the on-/off-switch was probably broken, so I switched it out. And that was it, actually.
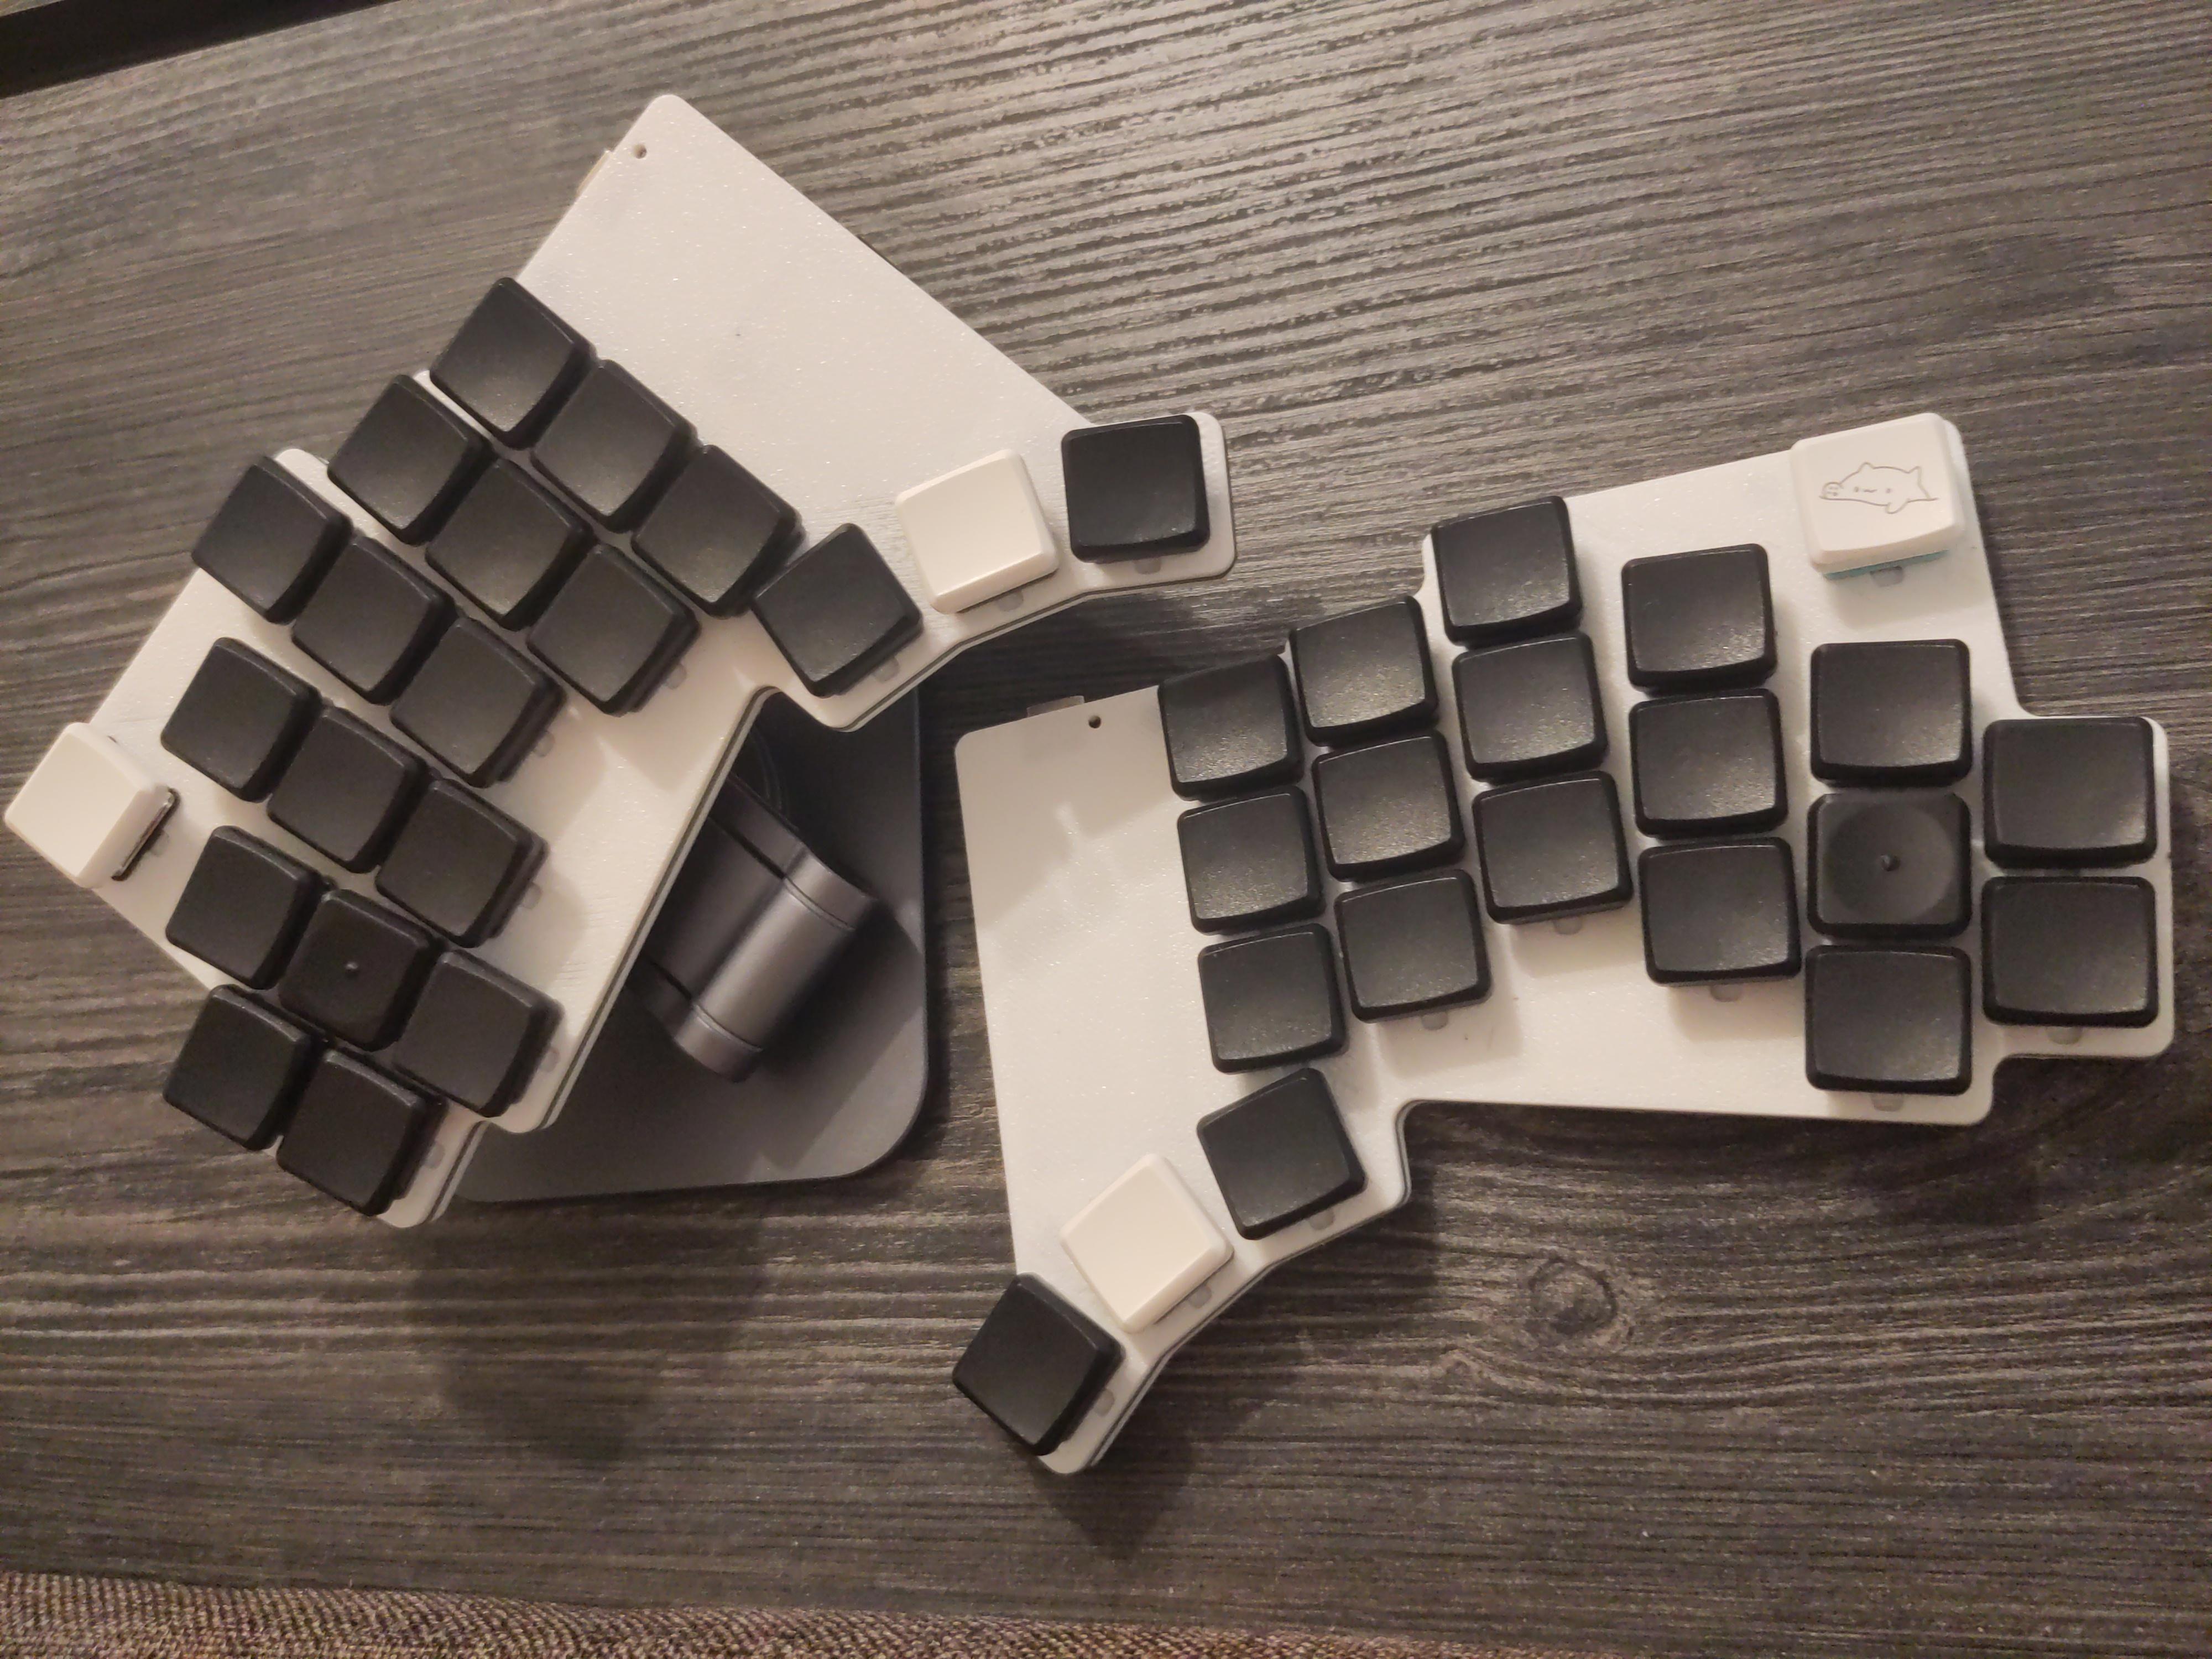
So now I've been using my Lintilla for about a week. And it's… pretty darn good. The angles aren't all perfect, and the thumb keys are just a bit too far out, but overall it's much nicer than the Corne. I think I'll need a bit of a break now, not just from building, but also to better identify what I do and don't like about it. But I am almost certain that I'll tweak the design and build a v2 that's closer to my own hand anatomy.
That's that. Let's close this post out with some general advice on the firmware.
Firmware
So you've built and assembled your board. Now it's time to throw ZMK on there. Again, other people have already done a good job explaining this step, and you'll hopefully have some guidance from the creator of your particular board as well.
But what layout will you throw on there? First, you are now stuck with fewer keys, so you won't be able to reproduce a full layout like you're used to. Nor should you want to. I'd recommend starting with the Miryoku Layout. It's a decent layout, provides access to all keys you'd reasonably need, uses a diverse set of features, and is already available for a wide range of boards.
Miryoku is configurable and comes with many configurations for the alpha keys, but its default is Colemak-DH. I'd actually recommend trying that out.4 It will be some mental effort anyway to learn to use this new physical layout, plus the different layers, so why not do it all in one go? If you keep your old keyboard available at the same time, you can still switch back to that and its qwerty layout when you become fatigued or need to be quick with something. In a few weeks, you should be quite comfortable with the new layout, and after a few months, you should be up to a good speed.
Even though Miryoku comes in its own fancy repository which allows for easy switching between its settings, I'd recommend for you to also rebuild your version in a clean zmk-config repo using Nick's Keymap Editor. This is a really approachable way to start editing and customizing the config yourself and will allow you to go beyond what Miryoku provides.
Conclusion
Building your own keyboard might seem intimidating and difficult. Design, electronics soldering, and firmware flashing all intersect. Some components like key switches and caps are a science unto themselves. And even though it's a niche hobby, there are loads of custom designs, which might be overwhelming.
I hope that I could provide you a good overview and starting point to take you a step closer to your own better keyboard. If this post actually has some part in you building a keyboard, please let me know! You can find ways to contact me at the bottom of this page. I'd love to see some pictures of your board!
-
Well, they're mostly open hardware, so it's actually not stealing. ↩
-
Of course, you will be able to use the full keyboard even if you only plug in one half. Between themselves, the halves will still use Bluetooth. ↩
-
You'll need two PCBs, one for each half. But JLC forces you to buy at least 5 of each board that you print. So if the design allows you to use the same print on its backside, then you'll only need these 5 boards. If the left and right boards are different files, you'll need to order 10 boards total: 5 of the left variant and 5 of the right variant. ↩
-
Try it if you aren't already on some other optimized layout like Workman or Newman. ↩
Thoughts? Reach out on Mastodon @Optional@dice.camp, message me via SimpleX, or shoot me an email.